Showing posts with label michaels. Show all posts

Thursday, November 3, 2011

dollhouse bob the builder update.

That's right, Bob the Builder here and I am getting things D-O-N-E. Man, this I'm a Giant Dollhouse Challenge is 100x more work than I initially thought it'd be. The good news? I. AM. LOVING. IT.

I've made some tweaks to the house construction, built the first and second floor frame, finalized some floor plans, started laying down the floor, painted the downstairs and even made a construction calendar. Are you getting dizzy with productivity yet?! My entire apartment has become a crafting war zone. Here are some in-progress snapshots to explain.


I got ahold of some giant, 1/2" foam core board to build the actual house. The cardboard wasn't working and I would have had to add "support beams" (popsicle sticks) and "drywall" (poster board) to stabilize. My awesomely supportive friend came up with the idea and I am unbelievably thankful for the suggestion.


Using the handy dandy floorplanner.com, I measured out the first and second floors and glued the walls together. Foam core is extremely easy to cut with an Exacto knife so it was a pretty quick build.

[my trusty glue gun] 

Next came a bit of shopping. I needed to figure out what to make hardwood floors out of and how to construct some stairs. Along with the boring building supplies, I snagged some "room colors", "wallpaper" and "bathroom tile". AKA acrylic paint, scrapbooking paper and mosaic tiles. Everything was purchased at Michael's and totaled around $30.

P.S. You can now pull up a 40% off coupon on your phone for them to scan vs. remembering to bring in the paper one.

[popsicle sticks for stairs and misc. furniture building]

[stairs cut and ready for assembly]

[craft sticks for the wood floors]

[the downstairs color]

[mosaic tile for bathroom floor]

[kid's room wallpaper]

[master bedroom wallpaper]

With the plan set in place and materials purchased, I got to work on laying down the floor. Oh-my-god-doe-it-take-a-long-time. It's going to look ridiculous when it's finished but I may need to revisit having hardwood throughout the entire house. The deadline's December 15th so unless I'm planning to submit an empty house, I'm thinking I need a plan b.


I plan to stain this a Dark Walnut and add some white molding to finish the look. It's been fun trying out all of the different roles involved in building a house and I'm learning very quickly that it's WAY more difficult than it seems. 

What's next? Why, let me share my checklist with you:

FLOOR ONE
  • finish laying down floor, stain and polyurethane
  • paint molding white and add to floor and ceiling
  • figure out the stairs - paint or stain
FLOOR TWO
  • add room partitions
  • cut out stairway opening
  • figure out and install floor treatments
  • paint/wallpaper all rooms
  • paint molding white and add to floor and ceiling
  • figure out stairs (new plan!)
FLOOR THREE (new plan! - master bedroom)
  • build out third floor (need to measure)
  • figure out and install floor treatments
  • paint/wallpaper 
  • paint molding white and add to floor and ceiling
  • add bathroom partition
So, to summarize, I need to finish building and dressing the entire inside of the dollhouse by mid next week. This will give me enough time to build all of the furniture for the rooms and accessorize by the deadline. Eek! 

Thursday, October 27, 2011

dollhouse challenge mini update.

You know the saying "don't bite off more than you can chew"? Well, I tend to ignore these wise little words. Maybe it's because I over think. Maybe it's because I over commit. Maybe it's because I'm not over-ly smart. Whatever the case, more often than not, I say screw the wading pool and head straight for the deep end.

Such is the case with the I'm a Giant dollhouse challenge I entered and, thanks to this post, have no way out of without looking like a quitter. Sigh.

I thought this was going to be a little project, with a little house full of little things. Just something small, cute and adorable to keep things interesting. But somehow, some way, this little, cute, adorable project turned into a big, giant, hairy monster that involves me building a little house and constructing all of the little things one. by. one. Looking back, I'm sure I can blame this on me being a cheap perfectionist. I mean, who has $20 to throw down on a tiny sofa you'll never actually be able to sit in and enjoy? No sir, not me. I'd much rather throw it away on more important things like beer and shoes.

Anyway, this project is taking WAY longer and involving WAY more planning and mathematics than I could have ever imagined. A word from the wise, making midget things involves rescaling. Everything. So instead of busting out the bottom floor like I so stupidly thought I could do, this week I completed this:


Since this project involves math, I had to head back to the floorplanner and actually write down the measurements of everything so I could shrink it down accordingly. Then I had to think about things like windows and doors and ceiling height. OH MY.

So I grabbed the card set boxes I swiped while visiting my parents last weekend, secretly thanked them for previously owning a baseball card store and cut out the base floor and walls based on my new-found measurements. Here is the new floorplan I'm working with for the ground floor.


It's a little more condensed, a little more simple and a lot less work than the before (posted here).

Side note: Does this or does this not look like a cow head? If I would have realized this growing up, I would have had a field day playing around in the back office/storage space. Especially since the foam set box fillers we had were green. Hello, pretend farm.


So after measuring (twice, grandpa) and cutting and taping and researching, I ended up with this:


The base of the outside walls (not shown) and ground floor. I know, CRAZY productive right? Double sigh.

I still need to cut the windows and doorway in it along with finding a way to add more stability (I'm thinking popsicle sticks). But this will come as soon as I figure out how high and large I want them. So, after the 5th yawn, I did what anyone would do - hopped online in search for sofas and tables that would be cute in midget size. For example, wouldn't these be sooo cute?


Whenever I finish procrastinating, next steps include:
  • add solid sheets of posterboard to cover the popsicle sticks, serving as drywall.
  • spray all the walls with some sort of neutral color spray paint (thank you, one room floorplan)
  • figure out a wood floor
  • stain the floor 
  • add white popsicle sticks around the floor and ceiling as molding (AKA additional stabilizers)
For the record, NONE of these tasks on the checklist above were there before. And I still have an entire second floor to figure out! Clearly I've dropped quite a load onto my plate for no apparent reason other than my love for tiny things. Hoping to have an actual calendar with deadlines, finish up this list along and possibly building out the kitchen furniture by the next post (November 10th)
Fingers crossed - December 15th is approaching faster than I thought it would!

Tuesday, October 25, 2011

when in doubt, paper drawers.

I am on an organizing mission I'll-tell-you-what. Ok, maybe it's more like a container makeover mission with small spurts of organizing to make me feel better about myself. I mean, I got my beads organized right?

Taking inspiration from my now bead organizer, I decided my other set of small drawers could use a little loving. In the form of scrapbooking paper.


Going back to my workspace rant from yesterday, I knew I wanted yellow to accommodate compliment the kitchen tile and blue to blend in with the living room and (almost forgot) newly upholstered bench. Then, since apparently I'm into the whole pattern on pattern thing (see my bedroom and bathroom), I thought I could use a little in this space as well.

So I took a look around the room to see what I could update. Behold, the infamous Ikea drawer set.


I'd painted it white, beige and black while on a bit of a neutral kick so it was definitely due for a makeover. I headed over to Michaels and picked up some scrapbooking paper. I wasn't terribly impressed with their collection but I think I found some paper that worked.


Then, the rest was easy. I quickly traced around each drawer and cut out the shapes. Totally moron-proof, right? WRONG.


Mental note: patterns do not look the same when traced from all angles. D'oh!

After getting all the cut-outs right, I made my little glue shapes and blended them all around the entire drawer surface. For those that didn't know, glue shapes are similar to ketchup and/or mustard shapes you create while adding the toppings to your hamburger. For those that don't know what a ketchup and/or mustard shape is, this blog may not be for you.

Here's 1) my favorite glue shape and 2) the glue shape smeared all over the drawer surface.


From there, it was time to afix and dry. I used the old heavy-book-overnight-method to keep the paper from curling off and the rest was history. A simple, graphic update to add some punch to a workspace.


all photos courtesy of yours truly.

Thursday, October 20, 2011

jewelry to bead box.

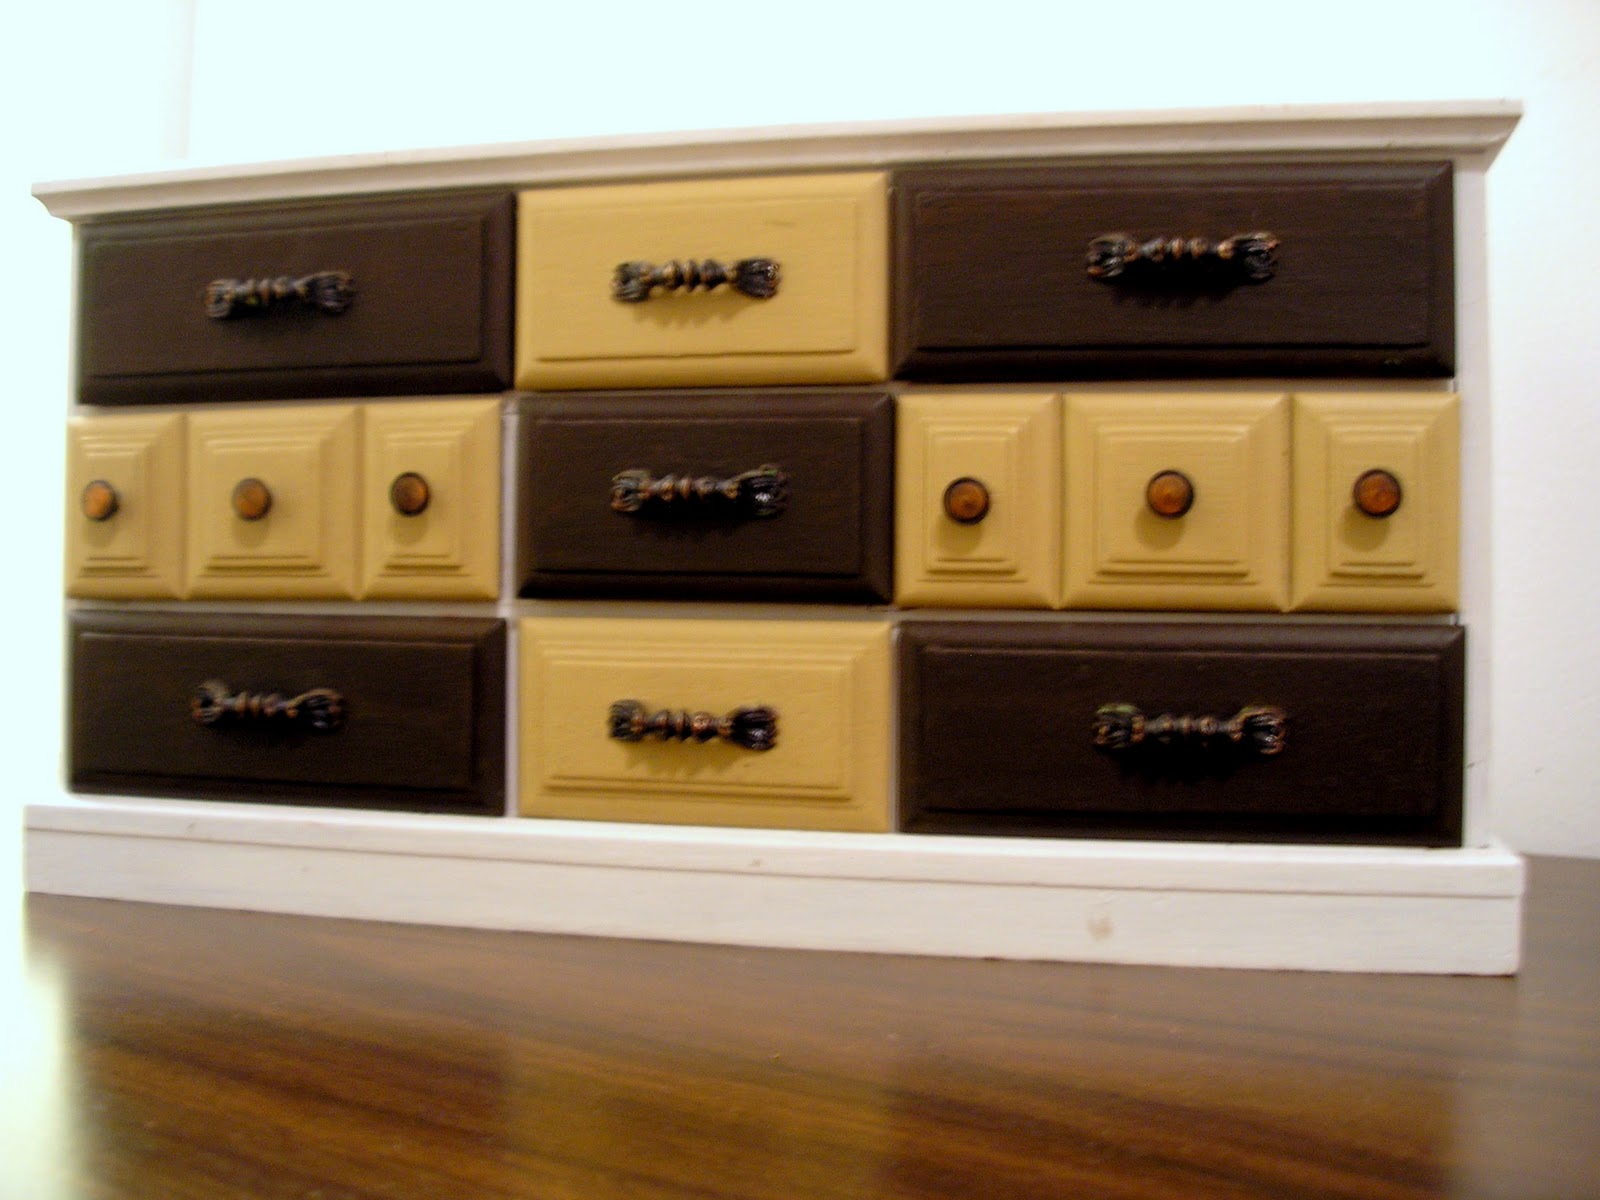
As mentioned in a previous post, I was having a little trouble revamping my old jewelry box. Not being able to find a place for it in my bedroom, I was forced to think of a new use for it. Too small to fit regular desk or sewing supplies, I started pulling out my craft materials to see what else I could come up with. And then it hit me - a bead box! I could color-coordinate my beads and paint each drawer accordingly. It would be perfect. Eventually.


My before jewelry box was WAY boring. My mom got the original dark wooden (?) jewelry box from my great grandma as a gift. I was in desperate need of some extra jewelry storage so she happily passed it down (thanks, mom!). Since then, I've painted the piece according to my bedroom colors - the last paint job was a result of a more muted color palette. 


Once I had the idea, I pulled out my paints and got to work mixing colors. You'd think I'd have something I could work with. 


But nothing worked quite right and I got a very loud and vibrant version of what I was actually going for. Sure I'm into color, but not much. Yikes. I was however, still digging the idea and was positive it would still work out.

So I headed over to Michaels and picked out some Craft Smart acrylic paints with a more muted color palette. At only 59 cents a pop, I couldn't complain. I kept the handles white to keep the piece looking modern and crisp. Aah, much better. 


But I still felt like something was missing. So I headed back to Michaels and picked up some Martha Stewart cherry blossom stickers. I liked the organic shape and colors so I added them to the mix.


I kind of like the way the detailing is 3-dimensional but keep going back and forth on whether to paint the blossoms on to keep it from feeling too "crafty".

If I decide on the sticker route, I plan to attach them better into the crevices of the drawer detailing and then seal with a clear acrylic spray. I'd also like to adjust the stickers a tad more - see how the branch doesn't wrap around the sides of the drawers? I think it looks a little unfinished.

What do you think? Paint or sticker?