Showing posts with label crate and barrel. Show all posts

Friday, March 7, 2014

fashion inspiration: relaxed boho living room.

Inspiration can come from anywhere. And for me, a lot of times that somewhere is fashion. Taking an outfit and using it to build your color palette or fabric profile could mean the difference of having a cohesive vision and a scattered idea. 

First, look at each piece of clothing separately and list what they could bring to the space. Then, take the entire outfit and identify the proportions of each element to figure out how to bring balance to the room. Finally, add a couple of your favorite accessories to finish the space.

tip: Try not to be too literal about your inspiration. Take what you like about a look and transform it into something that could work for the space.


Tuesday, January 21, 2014

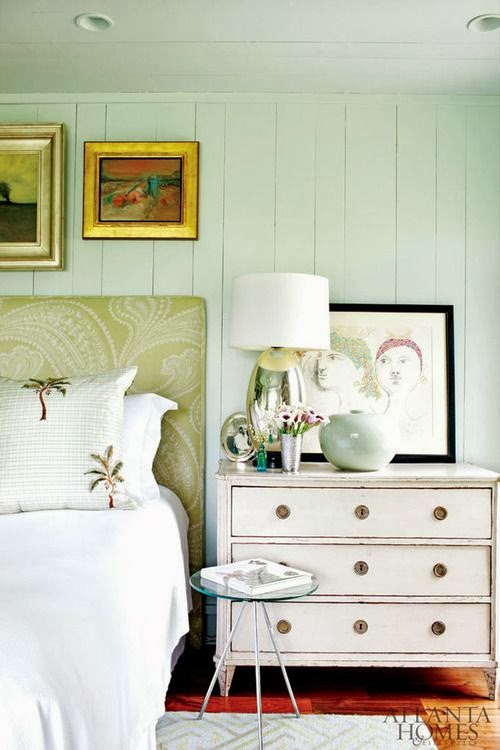
trend alert: using a dresser as a nightstand.

Dressers as nightstands feel very trendy to me lately - especially as spaces get smaller and storage gets more and more important. A great place for storing bedding, lingerie, pajamas or even socks, using a dresser as a nightstand feels like it might just be my next move.


And some extra photos for inspiration. I'm really liking the painted dressers for an added pop of color paired with a mirror to make the dresser super functional.


Thursday, October 27, 2011

dollhouse challenge mini update.

You know the saying "don't bite off more than you can chew"? Well, I tend to ignore these wise little words. Maybe it's because I over think. Maybe it's because I over commit. Maybe it's because I'm not over-ly smart. Whatever the case, more often than not, I say screw the wading pool and head straight for the deep end.

Such is the case with the I'm a Giant dollhouse challenge I entered and, thanks to this post, have no way out of without looking like a quitter. Sigh.

I thought this was going to be a little project, with a little house full of little things. Just something small, cute and adorable to keep things interesting. But somehow, some way, this little, cute, adorable project turned into a big, giant, hairy monster that involves me building a little house and constructing all of the little things one. by. one. Looking back, I'm sure I can blame this on me being a cheap perfectionist. I mean, who has $20 to throw down on a tiny sofa you'll never actually be able to sit in and enjoy? No sir, not me. I'd much rather throw it away on more important things like beer and shoes.

Anyway, this project is taking WAY longer and involving WAY more planning and mathematics than I could have ever imagined. A word from the wise, making midget things involves rescaling. Everything. So instead of busting out the bottom floor like I so stupidly thought I could do, this week I completed this:


Since this project involves math, I had to head back to the floorplanner and actually write down the measurements of everything so I could shrink it down accordingly. Then I had to think about things like windows and doors and ceiling height. OH MY.

So I grabbed the card set boxes I swiped while visiting my parents last weekend, secretly thanked them for previously owning a baseball card store and cut out the base floor and walls based on my new-found measurements. Here is the new floorplan I'm working with for the ground floor.


It's a little more condensed, a little more simple and a lot less work than the before (posted here).

Side note: Does this or does this not look like a cow head? If I would have realized this growing up, I would have had a field day playing around in the back office/storage space. Especially since the foam set box fillers we had were green. Hello, pretend farm.


So after measuring (twice, grandpa) and cutting and taping and researching, I ended up with this:


The base of the outside walls (not shown) and ground floor. I know, CRAZY productive right? Double sigh.

I still need to cut the windows and doorway in it along with finding a way to add more stability (I'm thinking popsicle sticks). But this will come as soon as I figure out how high and large I want them. So, after the 5th yawn, I did what anyone would do - hopped online in search for sofas and tables that would be cute in midget size. For example, wouldn't these be sooo cute?


Whenever I finish procrastinating, next steps include:
  • add solid sheets of posterboard to cover the popsicle sticks, serving as drywall.
  • spray all the walls with some sort of neutral color spray paint (thank you, one room floorplan)
  • figure out a wood floor
  • stain the floor 
  • add white popsicle sticks around the floor and ceiling as molding (AKA additional stabilizers)
For the record, NONE of these tasks on the checklist above were there before. And I still have an entire second floor to figure out! Clearly I've dropped quite a load onto my plate for no apparent reason other than my love for tiny things. Hoping to have an actual calendar with deadlines, finish up this list along and possibly building out the kitchen furniture by the next post (November 10th)
Fingers crossed - December 15th is approaching faster than I thought it would!

Monday, June 13, 2011

Jen & Chad's place: the plan

Much progress was made this weekend on Jen and Chad's living room. Slowly but surely the room is coming together and what is coming together, has been totally worth the wait.

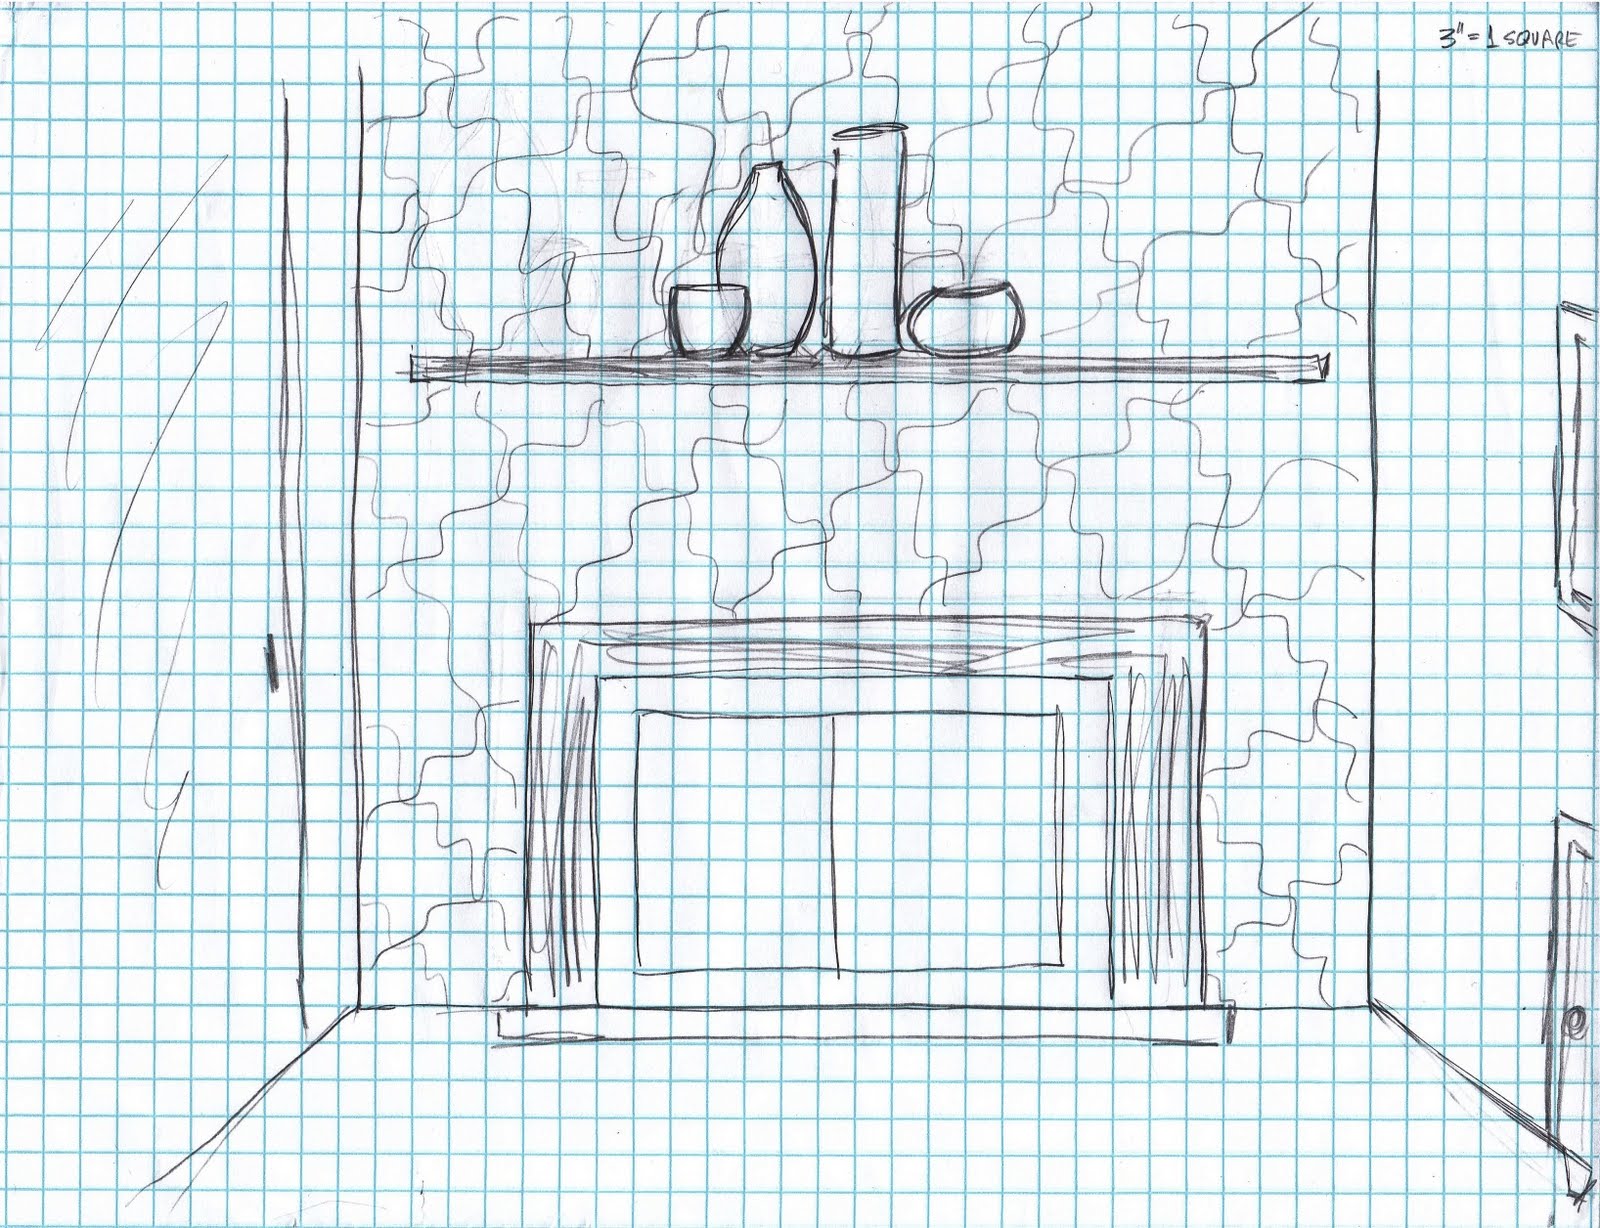
First, the sketches. Here are the simple sketches that I put together based on the back-and-forth on pinterest (listed here) and the overall needs of the space. The sketches are simple and are meant to be used as a guideline for what is needed and what the larger aspects of the decor would look like.

sofa wall: travel photo composition (with the ability to add), long curtains to add height, larger lamp for side table, new patterned pillows

fireplace wall (main focal point): painted wall with stenciled pattern, new more modern shelf (please Chad!), very simple white vase collection

TV wall: new stained TV console, frame bookshelves (see Jen's pinterest), potted plant with stand to break up the squares

the bar wall (wild card): possible wall color, DIY shelves to house wine bottles, etc.


Second, the fabric. The reason for choosing the fabric before the paint colors is because it's more difficult to try and match a fabric with a paint color than vice versa. So, after a cool 4 hours (not exaggerating), we finally found the perfect two (yes, two) pillows that ended up being the inspiration for the rest of the color throughout the room. 


Style & Co. green pillow (@ Macys)

Zenith Pillow (@ Crate and Barrel)

Once we chose the fabric, we spent a total of 20 minutes (including shake time) to pick up two gallons of paint for the fireplace wall. We went with a warm, dark gray (eagle something from Ace) for the primary color and a matching chartreuse green (lone oak something from Ace) with a lattice-like stencil.


We started sanding the TV stand, painted the primary color on the fireplace wall, primed the coffee table and hung the frame composition behind the sofa. All in all, a busy weekend! 

How did we put the rest together and what does the final space look like? Stay tuned!

Sunday, September 26, 2010

Find your inner coziness.

It actually feels like fall today. The air is crisp, the breeze is cool and I didn't need to run the A/C last night. Fall happens to be my favorite time of the year because along with the obvious (leaves, nice weather, new fashion) it's the time where you start bring out the blankets and cozy-ing up your home. The easiest way to do this is by adding softer textures to your space - whether it's through a blanket, sweater pillow or even a faux sheepskin rug. Take a look around your home and see what you already have that gives off that can't-wait-to-curl-up-with feeling. Then, assess what you may be missing - there should be 3-5 things (depending on size) placed throughout the room to introduce the new texture while still keeping the room looking balanced. Find cozy pieces in lighter colors to keep the room looking bright and accentuate the added texture.

Note: If you aren't a furry, fuzzy kind of person, focus more on adding warmer colors and layering patterns and solids. Also, introducing darker wooden accessories can help warm up a space just the same. The colors I've been gravitating toward recently include deep purples, olive greens and mustard.

Here are some of my faves to help start your search.


MAKE IT: Have a sweater you love but can't wear anymore? Or a sweater that has a pretty pattern - for a blanket. Then make it one! Or at least a pillow. Turn the sweater inside out and place the pillow inside. Pin the side and sew three sides (excluding the bottom hem of the sweater). Trim the three sides and place the pillow back in the sweater. Then, hand stitch the top of the pillow, for an interesting detail, create a flap with the left over bottom and secure with some buttons, ribbon or fringe. Also, try experimenting with an old cardigan - change out the buttons or add some felt flowers for added color and dimension.