Showing posts with label bookcase in kitchen. Show all posts

Tuesday, June 18, 2013

what if: kitchen bookcase display

I'm not going to lie, arranging items on a bookcase is tough. Rough and tough. And in the case of a kitchen it's even trickier because, chances are, the stuff you have to arrange on a bookcase is stuff that you actually use in everyday life. If done wrong, it looks like the bookcase is a temporary answer to the clutter you can no longer find room for in your cupboards. If done right, it looks like the bookcase is part of your regular kitchen storage and can even end up being the focal point of the space. 

Since I am a bit of a hoarder when it comes to dinner and glassware I've been faced with this challenge in every. single. home I've rented. I can't help it - dinner plates and glasses literally call me to come over there and put them in my shopping basket. Who am I to argue?

Add Jim's cooking ware he actually uses to cook things with and put things in and this is the reason why we needed a bookcase in the kitchen ourselves

Are you panicking yet? Not to worry, here's an example of how to work it all out. 


  1. Leave space on the top shelf. For shorter bookcases, try finding something tall to add more height without adding weight. Here I have a house plant but you can also use a decanter, pitcher or even tiered vegetable holder.
  2. Use your produce as decoration. Veggies and fruits that don't require refrigeration can help to add some color to the arrangement. Look for wire or mesh baskets to minimize the bulk and let the color shine through. 
  3. Show off your best or most interesting serving ware. This is the trial and error part of the program. Gather all of the serving ware you wouldn't mind seeing everyday and layout on an empty kitchen counter top. From there, play with the arrangement so the color, shapes and sizes are evenly distributed across all shelving. When in question, snap a photo of it with your phone and take one final look to see what may needed edit 

Sunday, June 16, 2013

makeover monday: kitchen bookcase

Hola! How was everyone's weekend? Good. Great. Wonderful. How fun!

I spent most of mine refinishing a bookcase my grandpa made for my mom but I ended up stealing. MINE. While my grandpa may give me the silent treatment after he finds out I painted wood, I'm ecstatic with the way it turned out. To the point where I almost pet it. Swear.

The bookcase lives in the kitchen and we use it to store things like casserole dishes, cookbooks, a microwave and our weekly produce.


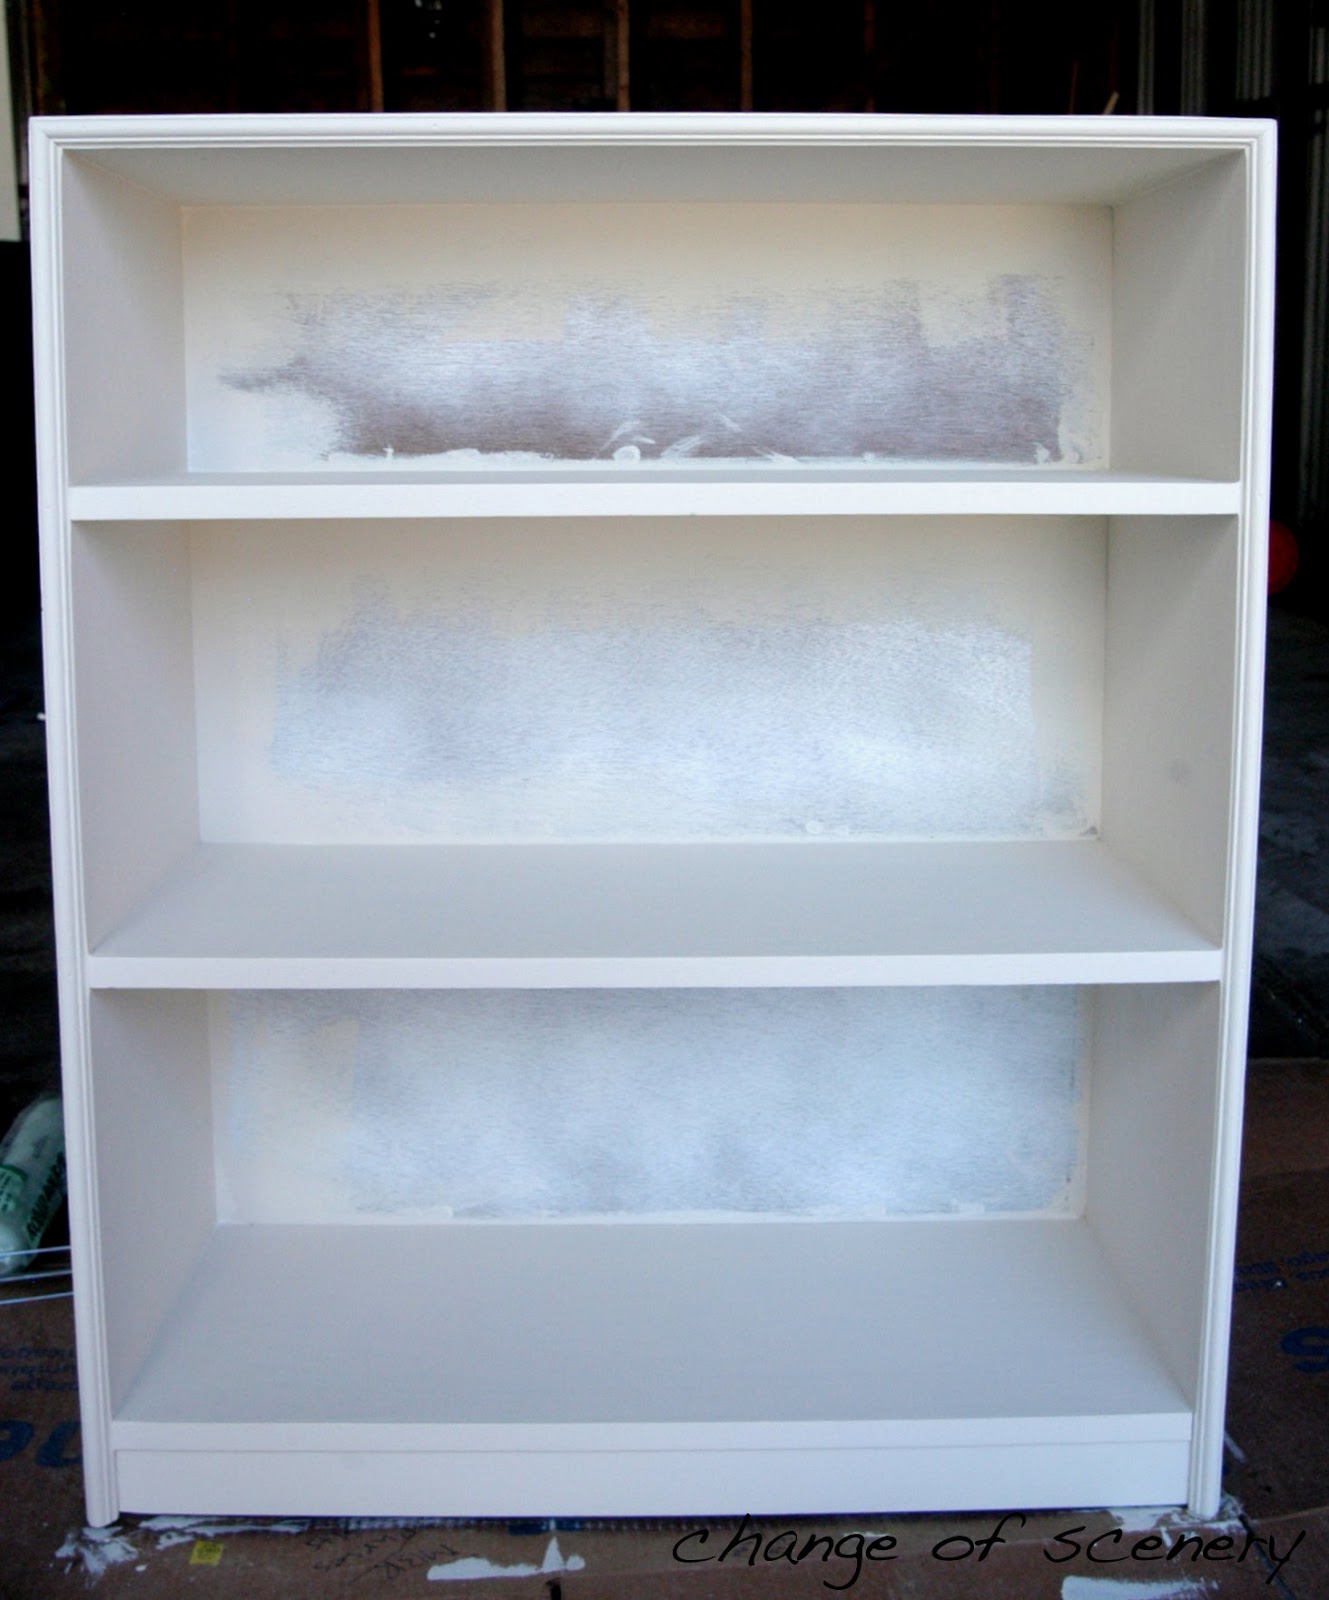
Originally a light golden stain, I decided to sand off the finish and start spraying a white primer on it before we even moved into this house. The thought was to paint the entire bookcase a bright white to lighten up the space and keep everything looking crisp and clean.

...Until I realized that everything in the kitchen was a bone white. Including this adorable shelf I was planning to put the bookcase underneath. Smart, Kate. 


So I Jim dug through the garage and found two cans of the same paint used for all the kitchen cabinetry. Score!


Then it hit me. Why not paint the back of the bookcase a different color? It would make the content pop a little more and give the kitchen some much needed color. I had purchased this photo in San Francisco a few weeks prior in hopes to someday find a place for it in the kitchen. And even though it doesn't have a place in there just yet, I used it to pick the perfect deep blue hue. 


The entire project ended up costing me around $15. Already having majority of the paint, I purchased a couple of testers, a new brush and some rollers. Done. Now let's get started. 


First things first: three coats of bone white paint, letting it dry overnight.


Next came the blue paint. Nervous paint would peel off if I used tape, I actually free handed the border with a small angled paintbrush. I applied two coats and touched up wherever I saw any sort of inconsistency. 


Finally, I grabbed the tiniest roller known to man (thanks for the tip, Sharon!) and rolled on two coats of blue paint in between the border. 

Tip: Always line your paint trays with saran wrap. It alleviates tons of clean up time and allows for quick paint color changes. 


And that was it! I actually didn't apply any finish although as I write this, now I'm kind of thinking I really should (damnit!). I'll likely use Minwax's Polycrylic, applying only to the bone white part. 

I really like the little hint of color it provides and think the content stands out exactly the way I was hoping for it to. I'm thinking about replacing the vegetable bowls with wire baskets but that's just a small tweak I can worry about later. Cute, right? Right.