Showing posts with label stain. Show all posts

Monday, March 19, 2012

a thrift store desk makeover.

As I mentioned in my last post about thrifting, you can run into some ridiculous sales. Like the 50% off everything last Saturday at the Loveland Goodwill. This is where I scored this little gem for $18. I fell in love with the simple shape, tapered leg and drawer detail. But, like most things at the thrift store, it was in desperate need of some TLC. The orange finish and the laminated counter top weren't going to cut it. 


So I set up post in the front yard of my apartment building and got to sanding.  For the record, I hate, hate, HATE the fact that I have to sand in the front yard of my apartment but there's just no other option. I've learned to bite my lip, embrace the hillbilly-ness of the situation and try to get everything sanded as soon as humanly possible. I don't get embarrassed that easily but when you're sweating profusely with people are honking and yelling at you while dressed in the world's rattiest clothing in the front yard on a busy street, something has to give. And it's certainly not going to be the orange desk. 

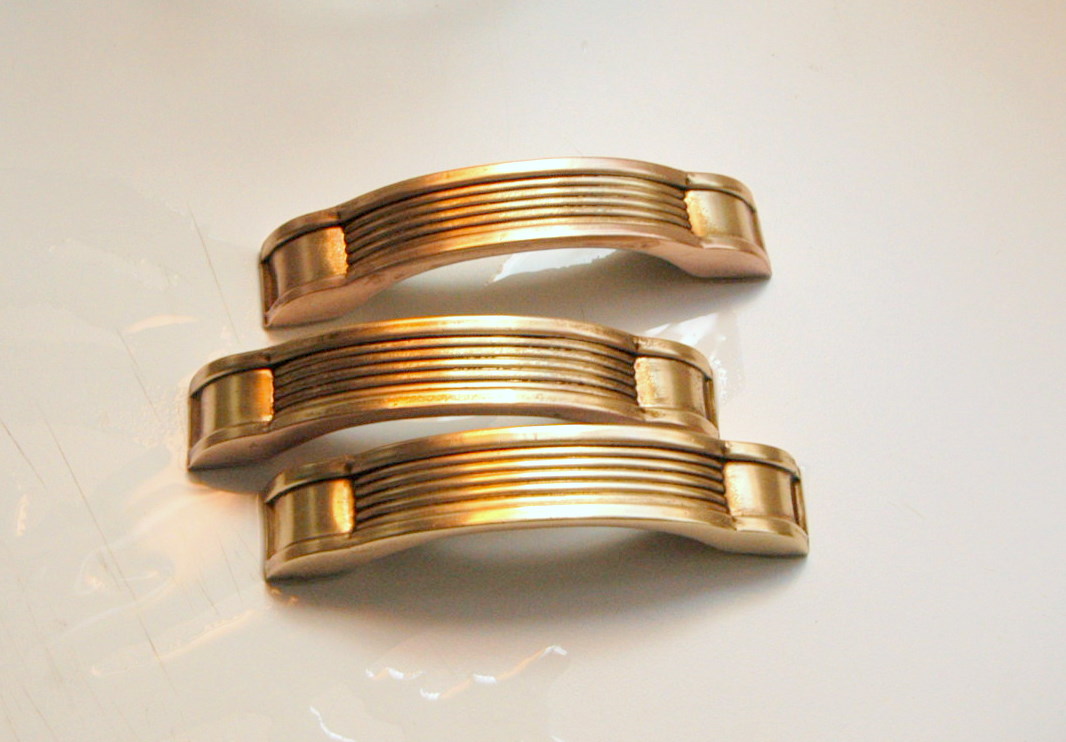
Anyway, I sanded everything down similar to last week's dresser makeover. I used the same MinWax Dark Walnut Stain for the body of the desk and the Valspar Bistro White paint to finish off the top. Since the top was white laminate already, there wasn't much I could do besides painting it. I lightly sanded to make sure the paint would stick, primed and painted the top and the sides to make the transition have a little more purpose. I finished off with three coats of MinWax Polyurethane to give it extra durability and prevent chipping. Finally, I gave the original knobs a thing coat of gold spray paint to complete the look. 


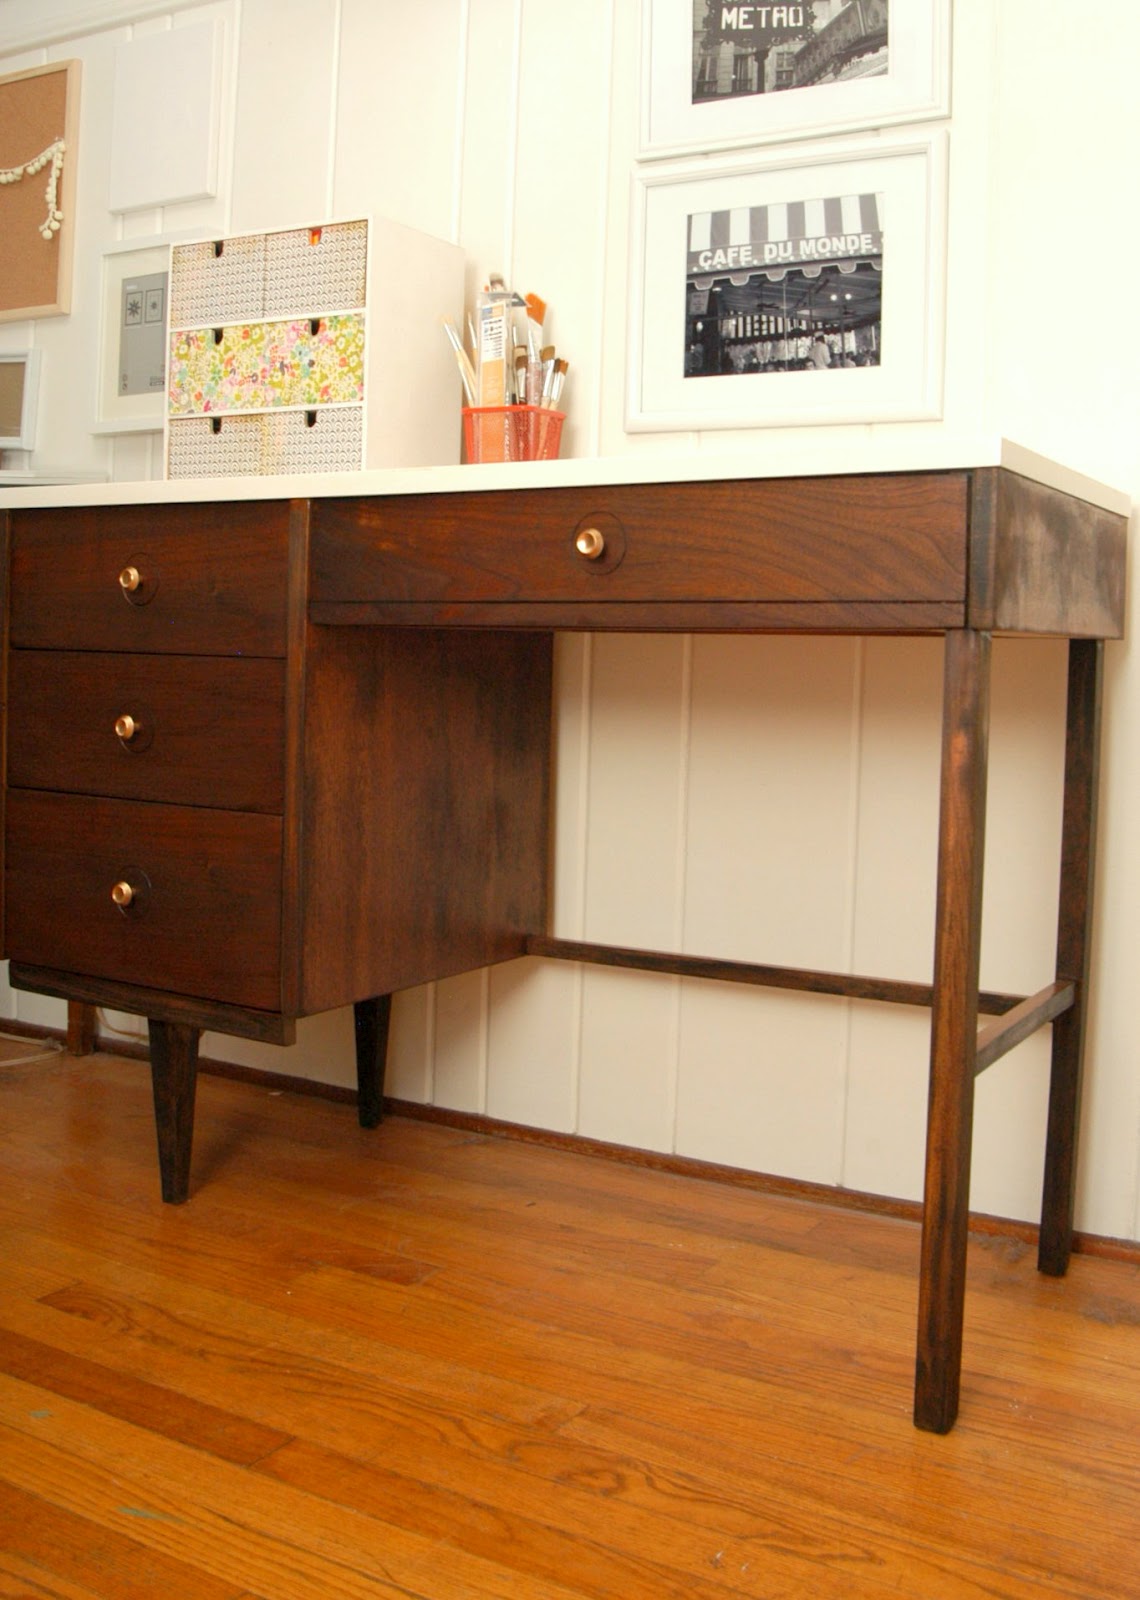
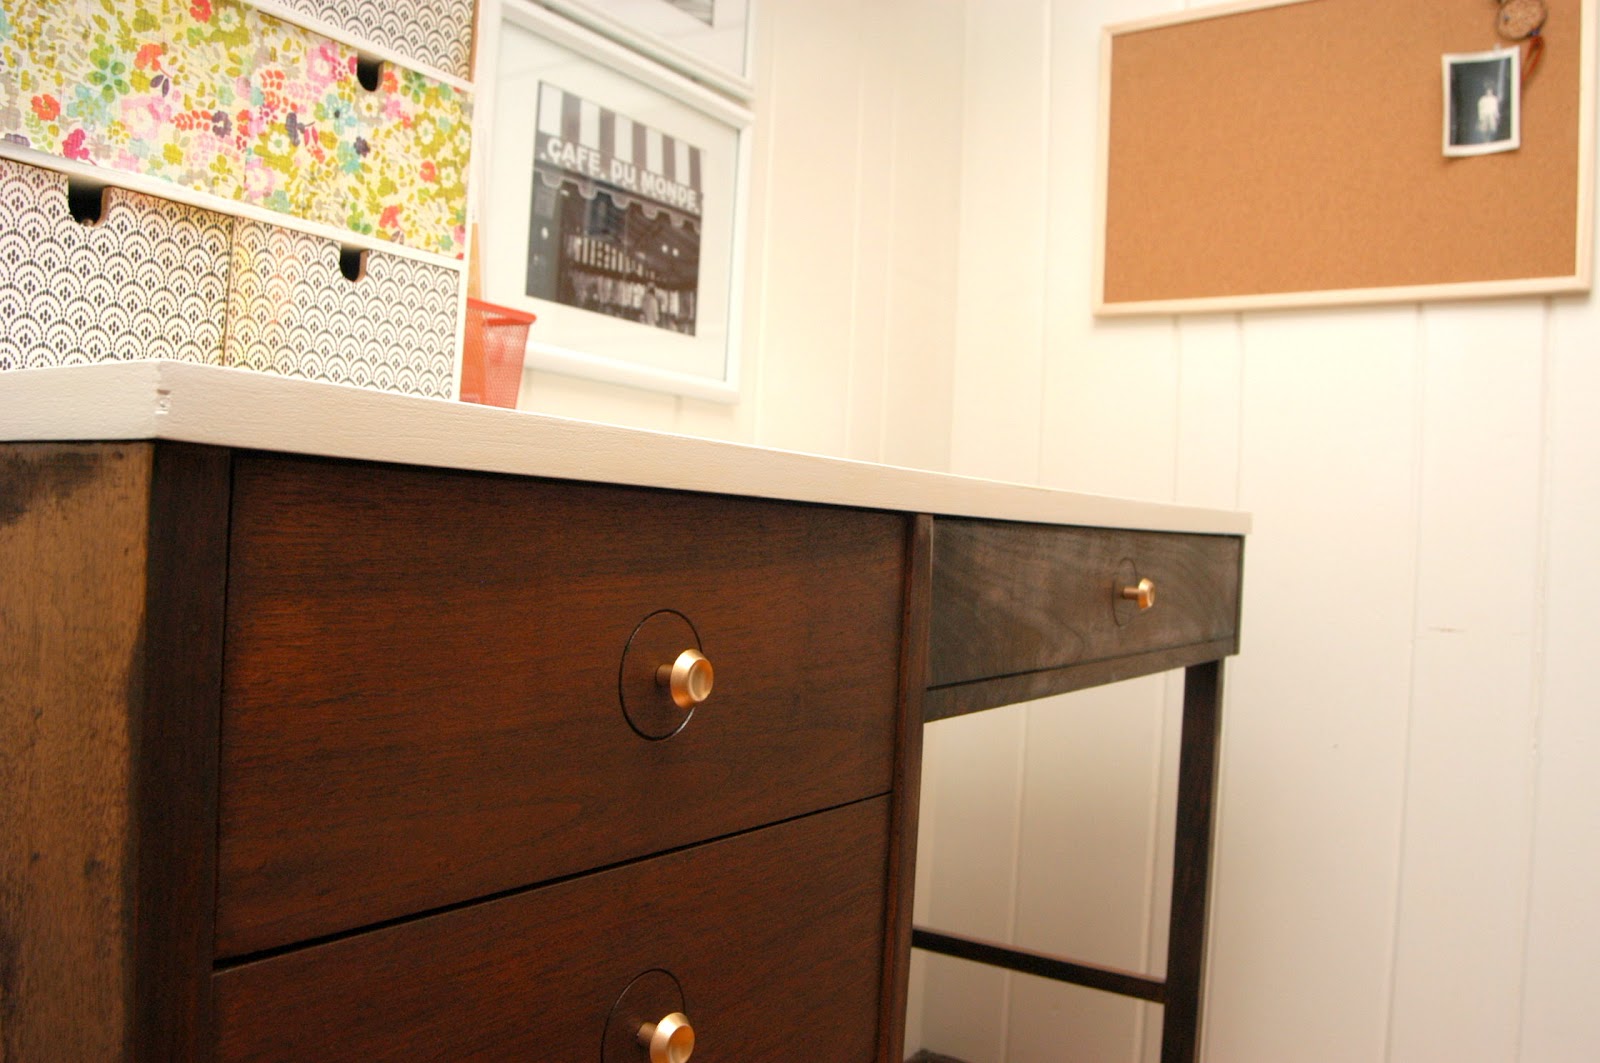
Ta da! I mean, how cute is she?!?! I have a chair downstairs that needs a slipcover and the desk obviously still needs to be accessorized, but I am loving the update to the space. The white desktop actually works perfect with the white shelf, making the two pieces feel like one. I plan to introduce more color with various patterns and replace the current photos with something a little more eye catching. Aside from that, I am so happy with the way everything turned out and look forward to finally getting this space pulled together!

Monday, March 12, 2012

someone's got a brand new dresser.

It's finished! The debate was long, the decision was scary but the end result proved totally worth it. This dresser looks polished, current and like a brand new piece of furniture. I am obsessed with it. 


To remind everyone, my childhood dresser was in desperate need of a makeover. The hardware was tarnished, the stain was really dark and red and the finish was super glossy. It looked really clunky, chunky and... well... old.


Interested in the technique? Here's how I did it. 

priming the dresser
I lightly sanded the dresser, removing that shiny finish so the paint would stick. I didn't worry about taking the actual stain color off since I was only painting over it. Then I applied two coats of Bulls Eye primer. Hindsight, I probably should have worried about taking off the stain since it was such a dark color. Dark color = many coats of paint.


painting and sealing the dresser
I applied three coats of Valspar's Bistro White in Eggshell finish. For the record, whites are really hard to pick out, especially when adding a stained component to the piece. Depending on the tint, the white can pull reds, grays or yellows from the stain. This can make either the white or the stain appear too warm or too dull. To avoid, grab your stain swatch and your paint swatch and pair them side by side. Be sure to look at in sunlight, sunset and with the lights on to make sure the color doesn't change into something funky. Finally, I sealed the paint by using MinWax's Polycrylic to prevent paint chipping and add a level of protection and high gloss. 


refinishing the drawers
I sanded down the drawers, taking off all of the finish and the stain. This gave me a clean palette to apply the new color. I decided on MinWax's Dark Walnut because the color was rich without being overly red. I used a brush to apply the stain and a towel to rub in and make even. Finally, I sealed the stain with MinWax's Polyurethane in a satin finish.


cleaning the hardware
This is probably my favorite part of the transformation. Part of me wanted to keep the tarnished brass hardware as is to give the piece some depth but the other part really liked the idea of shiny handles. So I bit the bullet, bought the infamous Bar Keepers Friend cleaning product and scrubbed away. The end result was seriously night and day. 


After all the updating was finished, I assembled the piece, stood back and admired my work. I am so ridiculously happy with the end product I wanted to invite people over for everyone to look at. Now to mess with the accessories :)


Wednesday, September 14, 2011

How to: refinish an upholstered bench

Here she is ladies and gentlemen. The refinished bench I put my blood, sweat and (almost) tears in. She's updated. She's timeless. She's... beautiful.


Ready for the story? Well, if not, I'm going to tell it anyway. You see, a long, long time ago, my parents inherited a bedroom set from my dad's best friend's great aunt (I think). Part of that set included this bench which clearly was in need of some TLC. Poor thing.


So I took off the needlepoint cushion and started sanding with my trusty Deoin Sander. And kept sanding. And sanding. And sanding some more to the point where all the finish and old, reddish stain was completely removed.

TIP: For grooves like the ones in the legs of this bench, use a steel bristle brush to basically dig out the excess finish and stain.

Next, I cleaned the entire bench with mineral spirits and finished it off with tack cloth. This removed all of the excess sawdust from sanding and gave me a nice, clean, dust-free base to work with.
Then, I prepped the wood with pre-conditioner and slathered on some MinWax Dark Walnut stain. I did this in sections, waited like 30 seconds and wiped off the excess.

TIP: Follow the pre-conditioner instructions. Pre-conditioner helps the stain go on evenly vs. becoming concentrated in some areas.

Finally, after waiting overnight, I applied a very thin coat of MinWax satin polyurethane. I dabbed the excess off with a rag to make sure it was as thin as it possibly could be, looking for as minimal of a sheen as possible.


For the cushion, I used the original baseboard and "padding" since the needlepoint upholstery was attached using tacks (read: way to hard to take apart). Since the "padding" was pretty much nonexistent, I added an additional 1-1/2" foam top ad wrapped the whole thing in a couple layers of batting to keep everything in place.

From there, I stapled on the new fabric (found at JoAnns out of all places) making sure to center it first, pulling it tightly along the way. For the corners, I left them unattached, pinched in the sides so that they touched, flattened out the top and wrapped underneath.

P.S. I really have no clue if that's the appropriate way to upholster a seat. I've experimented with a few other techniques and this is the only one I've actually liked the outcome of.

And there you have it! My new little, precious bundle of joy. It currently lives underneath Lois my sewing machine (yes, I name my equipment) but I'm kind of thinking about relocating her. Any ideas?