After enjoying a nice relaxing weekend at my parent's house in Cleveland, I headed back to Cincinnati to enjoy a nerve-wracking, full-of-work night at my BFF Jen's place. A big thanks to her boyf Chad for 1) trying out the first stencil until we figured out what we could use to stand on and 2) making us pizza which was absolutely delish.
Anyway, while it took at least 3 hours to complete (minus the time it took to wait for Chad's dad to drive down the spray adhesive, oops) but I have to say -
totally worth it.
Step one: the idea and color
To start off, we used Jen's
wallpaper pinterest post as inspiration. While I like wallpaper, Jen and Chad are thinking of eventually putting the condo up on the market so we wanted to go with something less permanent. This way, it would be much easier for potential buyers to remove it if the style doesn't suit their taste (although I can't see why it wouldn't).
Then, we went on the hunt (as mentioned in this
post) to find the perfect pillow fabric that we eventually found paint to match to. We chose a taupey-gray for the primary color and a chartreuse green for the stencil color. This color combo will add a hint of drama that has a little softer of an edge than your typical black and white. Again, I highly recommend choosing the fabrics first because, as we quickly found out, it's can be way more difficult to find a fabric you like than finding the paint to match.
Step two: buy the stencil
If you Google "wall stencil" you will get millions of search results to peruse the offerings. We wanted to keep the pattern boy-friendly and relatively simple since the rest of the room's decor was the same way. This helped balance out the room's focal point, adding interest but not taking away from the rest of the room as well. We ended up going with
this pattern (also shown in
another pinterest inspiration photo seen here). The stencil was a little pricey ($20 + $10 shipping and handling) but the material used for the stencil was thick, making it pretty easy to use. True to our luck, there was a smal tear in the stencil itself that we were able to tape up and fix however, we are hoping a photo of the damage can be used to get some $$ refunded.
Step three: stencil!
The included stencil how-to suggested that we place the stencil at the very top middle of the area we were planning on stenciling. As mentioned before, since this was out of arm's reach, we had Chad help (thanks Chad!) us until we could figure out a plan to let him off the hook.
After agreeing to place a blanket over the newly stained tv stand (photos to come), we soon started getting into a groove. Here's the how-to highlights:
- Figure out which is the front and which is the back of the stencil (typically represented by numbers of letters). Then, spray adhese the back with repositionable spray adhesive. This. was. clutch. Be sure to put on a good first coat, and continue to reapply every other time you stencil.
- Place the stencil in the top middle of the wall you'll be stenciling, finishing one side and then the other. Be sure to paint over the place markers so you can line up the stencil accordingly to keep the pattern consistent. At first we used a pencil thinking we could just erase, but since the wall was dark gray (duh!) we quickly changed to painting over the marker so we could see better.
- Then, evenly coat a small foam roller with paint. Not too much, not too little (make sure you can still see the details in the foam material). You will likely need to reapply paint 2-3 times per stencil, but this will keep the paint from bleeding through, giving you a nice, crisp stencil.
- After applying an even coat, peel off the stencil from bottom to top. I'm not 100% sure, but I believe this also helps the bleeding through the stencil.
- Wipe off the back with a damp paper towel, find your place markers and repeat.
TIP: Make sure one of you has good eyes for lining up the markers. Also, make sure one of you isn't afraid of heights for the high application. A big thanks to Jen, for being both of those people :)
Step four: touchups and wall decor (still to do)
Never expecting to be perfect, the final step to this process is going through the wall and touching up where needed with the gray or chartreuse paint. Specific areas: the corners, edges, place markers and smudged areas. I'm guessing this won't take too long - there were only a few areas where this was the case.
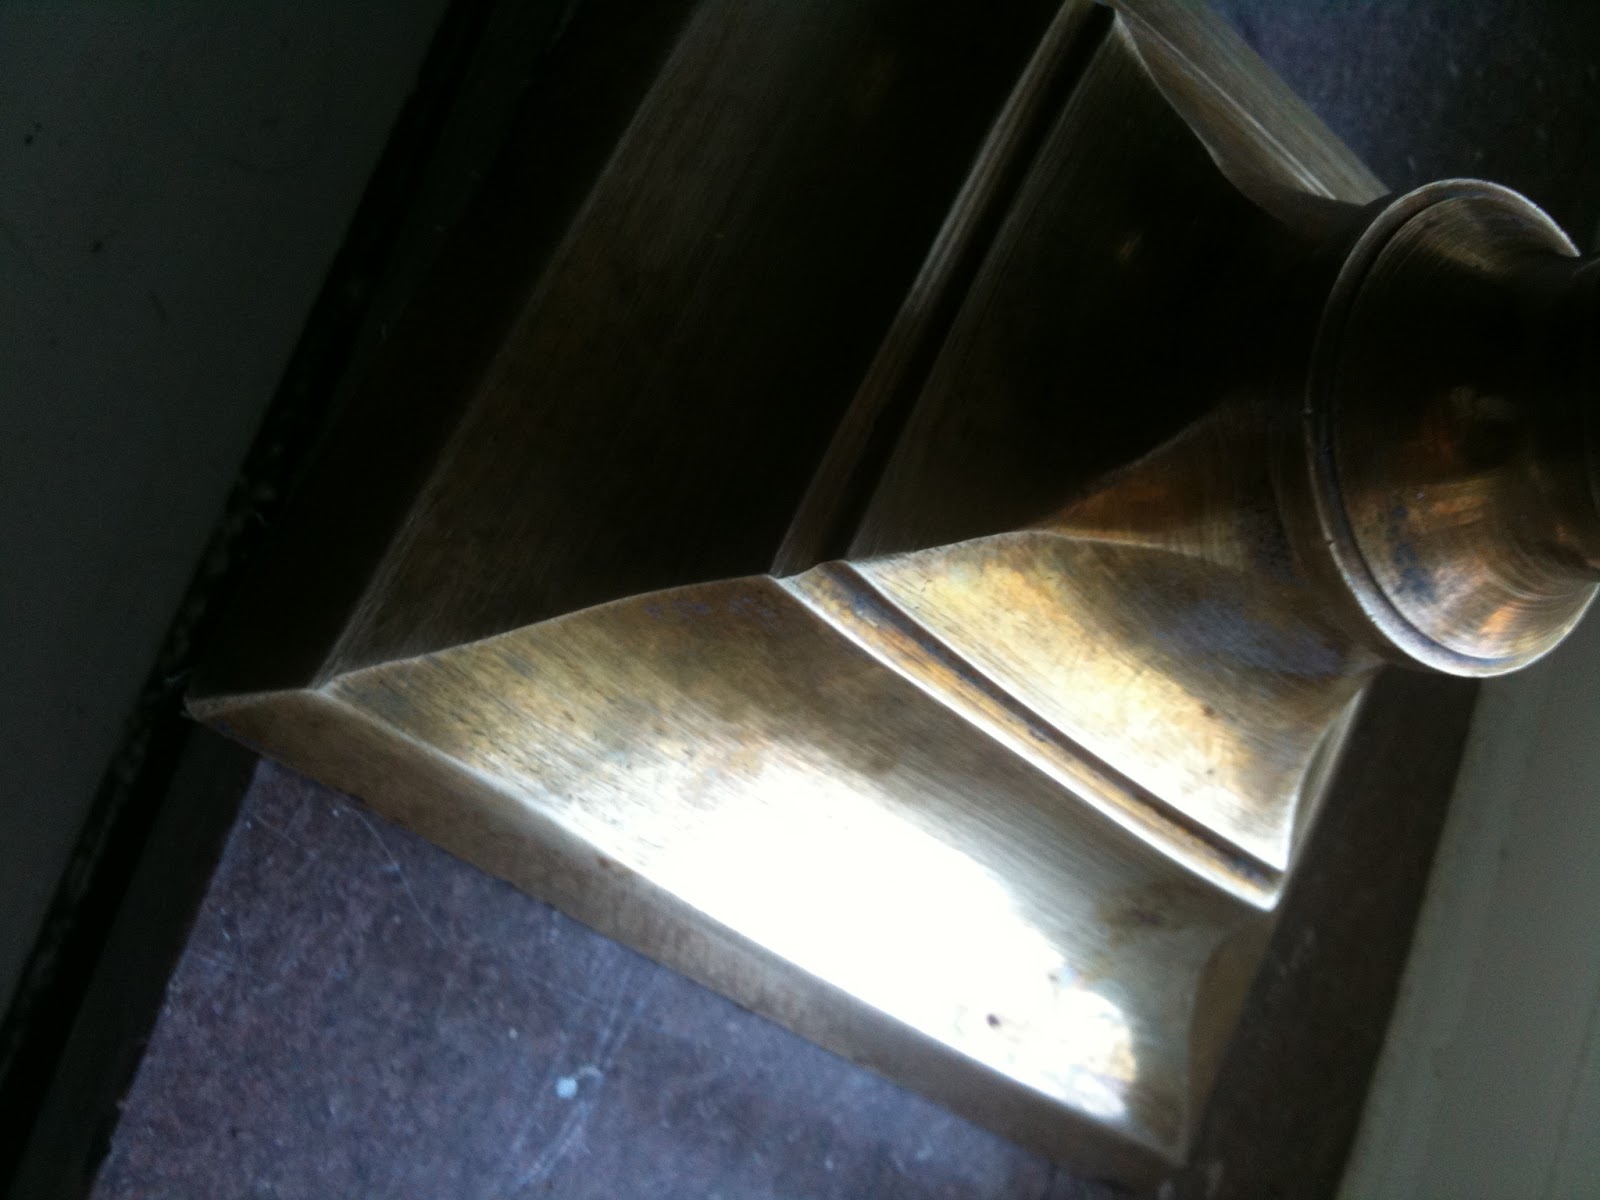
Also, notice the removal of the dated mantel shelf? It's looking so much more modern already! This did however, cause us to add "searching for new fireplace shelf" to the to do list. But, like the stencil, totally worth it in the long run.
Step five: check it off the list!
So where are we at?
To Buy
- fireplace wall stencil (purchased!)
- spray/paint for "bookshelves" (maybe already have)
- spray/paint for coffee table (painting chartruese tonight)
- plant for large pot (maybe someone will donate!)
- black frame for Cape Cod photo for travel wall
- wood planks for "bookshelves" (Chad's dad is on the project)
- long pair of curtains for sofa wall (Ikea or Ikea? Or maybe already Jen has?)
- material for fireplace hearth (still investigating options...)
- sliding glass door blinds/panels (still investigating options...)
- ADDED: fireplace shelf (investigating options...)
To Find
- 3 decorative frames for "bookshelves" (Chad's dad is on the project)
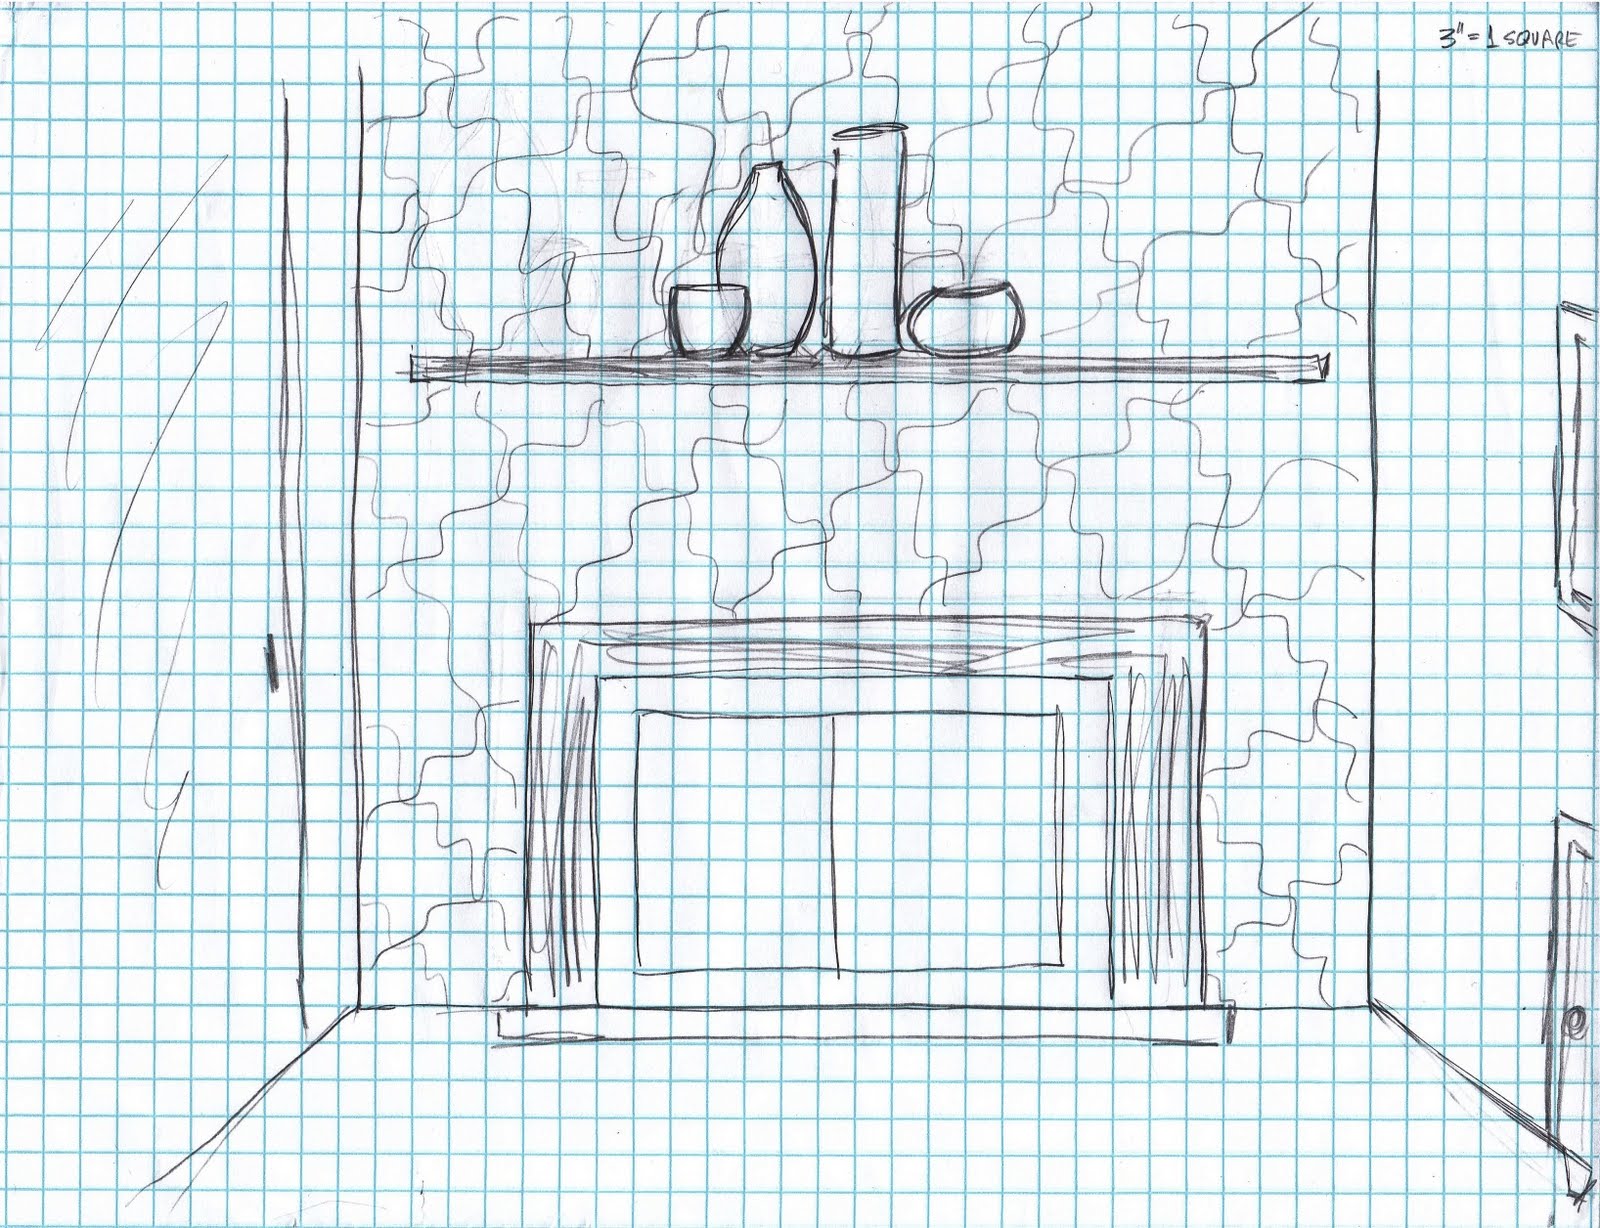
- large vases for fireplace mantle (maybe Jen already has?)
- small shelf for bar wall (TBD)
To DIY
- stain TV stand
- stencil pattern on fireplace wall
- make "bookshelves" (Chad's dad is on the project)
- spray large vases white
- spray/paint coffee table (Monday)
- stain/paint wine crates for bar wall (TBD)
- paint bar wall (TBD)