Showing posts with label craigslist. Show all posts

Wednesday, October 19, 2011

bedroom tweaks.

It's the little things in life that make me so, so, so happy. Like new curtains. And curtain rods. And a new dust ruffle! Here are some pictures of my bedroom showing off these new little details (all from Ikea) that make me adore this space even more. 

I got two new curtain rods from Ikea for the living room, moving the more delicate (read: flimsy) ones in the bedroom. I already had a set of these HENNY RAND curtains (previously in the living room) so I picked up another pair along with a more tailored dust ruffle to complete the look. I still need to hem the second pair but I'm happy with the outcome so far. Per usual, I took these at night so please excuse the darkness.
[balance a bright, busy pattern with more neutral geometric
ones to keep the bedroom feeling tranquil]

[layer different textures like velvet, fur and microfiber to
add depth and richness to a bed set]

[experiment with unconventional headboard displays or not having one at all]

[mix clunky, chunky furniture with more sleek and delicate accessories to
keep the space feeling balanced]

[opt for a more modern photo arrangement featuring family, friends and travel highlights]
[ground the bed with a bench, trunk or small chesterfield depending on its position in the space]

[incorporate bright pops of color to keep the space feeling modern]
[choose dressing furniture vs. accessories in accent colors]

[choose tailored bed accessories to keep the space stream lined and sleek looking]

[be conscious of texture when pairing accessories for display]
[layer ceramic with pattern and/or rougher materials to create a complete look]

[choose curtains that help frame wall displays and compliment vs. overpowering them]

[soo proud of my thrift store finds: shelves from ebay, plate from goodwill, 
nightstand from craigslist, lamp from vintage market and thrift]

[an off-centered pillow arrangement allows for a more relaxed feel]

[good organization framed by a large photograph help create an accessories area]

[continue the color scheme and mix of patterns throughout the entire space]


[some extra photos of ruby so she could feel included]

Wednesday, August 24, 2011

Everything but the house.

Hi, my name is Kate and I am a bargain furniture addict. To the point where my garage is currently being used to store excess furniture vs. my car.

But I'm not necessarily the Value City type bargain furniture (no offense). It's more like the thrift store, Craigslist bargain furniture.

Let's go down the list shall we?

To be clear, I don't regularly garbage pick. Every so often, while driving to a specified location, I come across a piece (or apparently three) that I stop and pick up. I consider myself lucky when this happens - like finding change on the ground (dad).

 side table: free (side of the road)


nightstand: $20 on Craigslist (also featured here)
[in my bedroom]

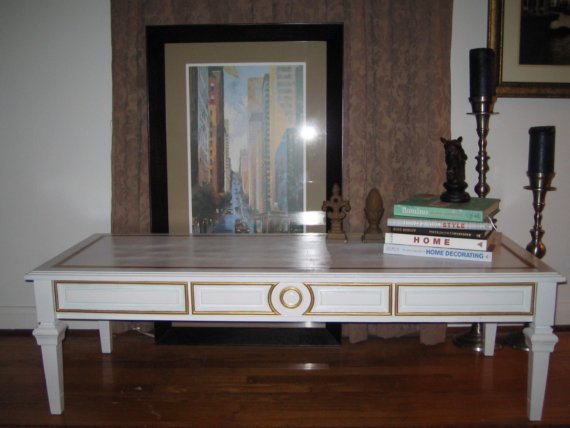
coffee table: $40 on Craigslist
[sold to a wonderful lady in D.C.]

desk: $50 on Craigslist
[refinished and sold to a lovely couple on Brooklyn]

[no picture]
side table: free (side of the road) and still needs to be refinished
[already sold to my mother]

[no picture]
retro dining chair: free (side of the road) and still needs to be refinished
[future sewing machine seat]

set of dining room chairs: $25 on Craigslist
[sold to my mother]

Anyway, my heart skipped about 5 beats when one of my friends, Katie, introduced me to this site, ebth.org. It's a mix between Craigslist (because it's local) and eBay (because it's ability for online purchase) and I. Am. Obsessed. Each week it seems as though they have 2-3 auctions around different areas of the city.


So far I've just been window shopping because of this whole budget thing I've put myself on but I believe you set your initial bid, then your maximum and if you end up with the winning bid, you can just head on over and claim your prize. I've been slowly spreading the word but figure, with the gems they've been displaying lately, this site needs to go viral. Don't believe how awesome this site is? Here are some of the drool-worthy goods I'm talking about.


And the crazy thing is this is only SOME of the FURNITURE. They have accessories, appliances, glassware, china, artwork, dinnerware, silverware... You name it, and you can probably discover an auction that has it. Happy bidding everyone!

Tuesday, August 23, 2011

How To: yellow nightstand

Remember this ugly Craigslist purchase? And how I said I loved the lines, hoped it was real wood and couldn't wait to stain it? And then how I sanded off the paint only find a veneer top (side table FAIL post here)? Huh? Remember all that?


Then do you remember seeing that little bit of sunshine just to the right of my bed (in the progress update post here)?

Now what if I told you ugly and sunshine were the same nightstand, only refinished?

Because they are. And look how pretty she (yes, she) is! I mean, completely adorbs, right?!?


So how did I do it? A complete how-to below. Enjoy!

Step One: Sand off the finish.
Now, keep in mind that I was originally planning to stain the table so the sanding pics below are a little extreme. For painting, you only need to take off the finish (read: shiny part) and smooth out any bumps, scratches or chips the surfaces may have. If you have a sander (recommended), you should be done in a couple hours depending on the amount of surface damage and stubbornness of the finish.

Now long did the process shown in the pics below take me? Two days of stripping (totally a gross process, I don't recommend) and about a day of sanding. Uh, huh. Yeah. FAIL.


Step Two: Prep and prime your piece.
Whether a couple of hours or three days after you finish the sanding (sigh), be sure to wipe off the piece REALLY well, removing all sawdust residue and excess finish. I recommend using either tack cloth (it's sticky so wear gloves) or a rag very soaked in mineral spirits. From there, let dry completely (about 15-20 minutes) and prepare yourself for priming.

To prime, I used a can of white spray primer and sprayed just enough to cover the entire surface with a very thin coat. Meaning, you don't have to spray the surface to the point where you don't see any of the wood/paint underneath, just so that the new paint has something to adhere itself to. Make sense? Let dry completely (read the instructions) before applying your actual color.


Step Three: Apply your color.
Once you've finished priming and let dry, continue to apply layers of thin paint until completely covered. In this case, I used two cans of high gloss, Marigold I purchased at my local Ace Hardware. This is the point in the process where you need patience. Apply a thin layer, letting go of the fact that you may be able to see some white coming through still. Wait 10 minutes. Apply a thin layer, and so on. I think this took me about 3 coats and maybe an hour to complete.

Step Four: Apply your finish.
Because this was a table that would be used to hold things like cups of water, I wanted to apply a polyurethane finish to protect the paint and make a little more durable to wear and tear. I waited 24 hours until fully dry (again, read the instructions!) and painted on a thin coat of satin polyurethane, lightly going over each section with a clean rag (read: ripped up t-shirt) to prevent drips and inconsistencies.

Always apply a finish to painted pieces that you need to be durable (i.e. kitchen cabinets, coffee tables, etc.) to prevent color transfer and showing general wear and tear.


So here's where I netted out. Cute, but I thought it was missing something. Then it came to me.

Step Five: Add a handle (optional).
I got this one at Hobby Lobby for $2 thanks to a 50% off sale. Woot woot!

To do this, find the center of the door, measure outward, mark and check to see if the two points are level. From here, drill holes using a drill bit that's slightly larger than the screws you're using to affix the handle.

Before drilling, make sure to double and triple check all of your measurements. I got cocky, only measured once and ended up drilling holes that were completely, 100% not level. Luckily, I was able to rig it so that it looks even now, but I'll eventually have to putty the hole up, respray the door and redrill the second hole.

Ugh.

But isn't she so pretty?!?!?!

Sunday, September 26, 2010

Find your inner coziness.

It actually feels like fall today. The air is crisp, the breeze is cool and I didn't need to run the A/C last night. Fall happens to be my favorite time of the year because along with the obvious (leaves, nice weather, new fashion) it's the time where you start bring out the blankets and cozy-ing up your home. The easiest way to do this is by adding softer textures to your space - whether it's through a blanket, sweater pillow or even a faux sheepskin rug. Take a look around your home and see what you already have that gives off that can't-wait-to-curl-up-with feeling. Then, assess what you may be missing - there should be 3-5 things (depending on size) placed throughout the room to introduce the new texture while still keeping the room looking balanced. Find cozy pieces in lighter colors to keep the room looking bright and accentuate the added texture.

Note: If you aren't a furry, fuzzy kind of person, focus more on adding warmer colors and layering patterns and solids. Also, introducing darker wooden accessories can help warm up a space just the same. The colors I've been gravitating toward recently include deep purples, olive greens and mustard.

Here are some of my faves to help start your search.


MAKE IT: Have a sweater you love but can't wear anymore? Or a sweater that has a pretty pattern - for a blanket. Then make it one! Or at least a pillow. Turn the sweater inside out and place the pillow inside. Pin the side and sew three sides (excluding the bottom hem of the sweater). Trim the three sides and place the pillow back in the sweater. Then, hand stitch the top of the pillow, for an interesting detail, create a flap with the left over bottom and secure with some buttons, ribbon or fringe. Also, try experimenting with an old cardigan - change out the buttons or add some felt flowers for added color and dimension.


Friday, June 4, 2010

Give me some of that 90210 style.


I am currently working through the entire 90210 series and have become obsessed with it. As soon as I get a disc from Netflix, I immediately pop it in and watch from start to finish. I loved the show when I was little, but now, I love love love it. 

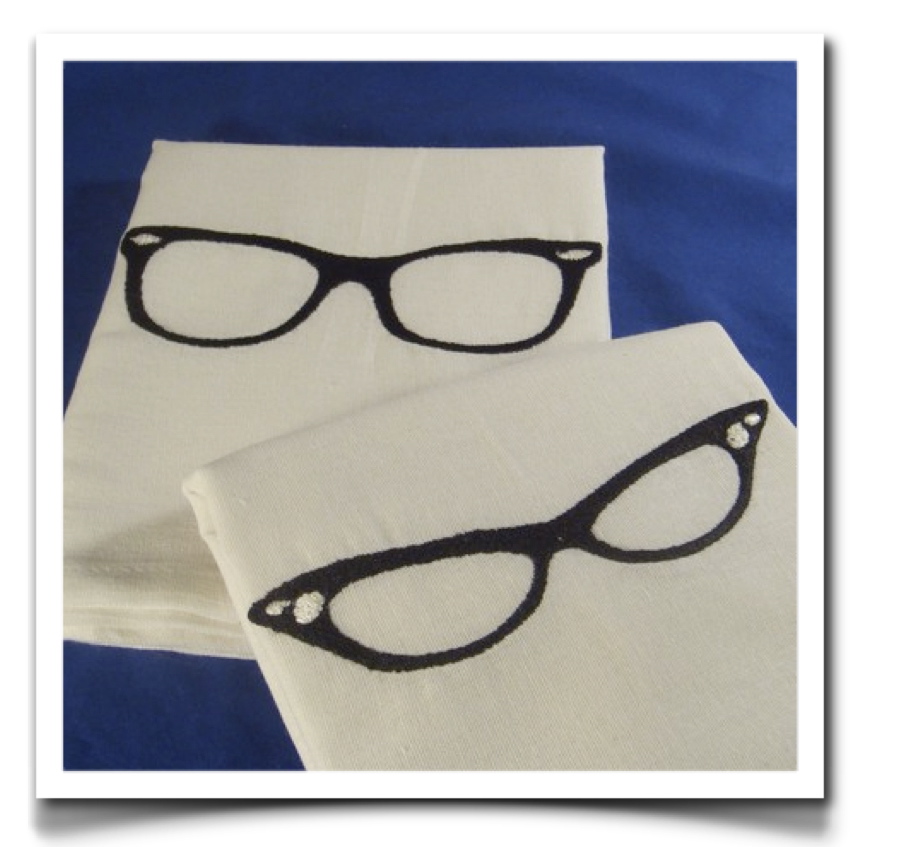
Anyway, I am at the point in the show where there has been some turnover in the gang. Brenda is going to school in Paris, Valerie moved into Brenda's room, something about a Task Force, etc. Despite all of the recent cast changes, transitioning from high school to college and other miscellaneous drug stints, eating disorders and crazy parents, there is one thing in the show that's been consistent... The Peach Pit. Then I got to thinking that the 50's diner motif has some pretty high points perfect for adding a little historic flare to a room, as long as it's not overdone. Check out local flea markets, craigslist and even etsy for some signature pieces. Here are some of my faves.