
When browsing fabrics at Sewn with Jen, the sales lady gave us a simple pillow pattern that allows you to remove the sham and wash. As the owner of a dog that's constantly shedding all over the place, I was in. We decided to put it to the test last week while waiting for our jewelry holders to dry in between layers (posted here).
The only hitch we came across was when trying to cut a geometric patterned fabric and getting the circles to line up perfectly. Here's what I'm talking about:

See what I'm saying? (but cute pattern, right?!) Lesson learned: if you're going with a more geometric pattern, it's better to get 1 yard per pillow to make sure you have enough fabric to choose from when slicing and dicing.
Anyway, step-by-step below. Happy sewing!
Materials
fabric
ruler
parchment paper (optional)
sewing scissors
ironing board
iron
thread
sewing machine
pins
18"x18" pillow form
Step One: purchase your fabric
Depending on the pattern, get between 3/4 - 1 yard per pillow. I purchased 1 yard so I had enough fabric to cut the pattern the way I wanted it to look on the front. As mentioned earlier, I highly recommend Sewn Studio (on Madison) for this because they have tons of modern, designer fabric at reasonable prices.
Step Two: cut your pieces
For an 18"x18", you'll need a 19"x19" square and two 19"x14" rectangles. The big square will be the front and the back two rectangles will overlap each other for the back.
This is where the strategic cutting comes in. The extra inch on all sides is for the hem. Make sure to account for it when lining up your pattern. And I'll leave it at that.
Tip: Cut the pattern out of parchment pattern and place over the fabric to get a better idea of what the front and backs will look like.


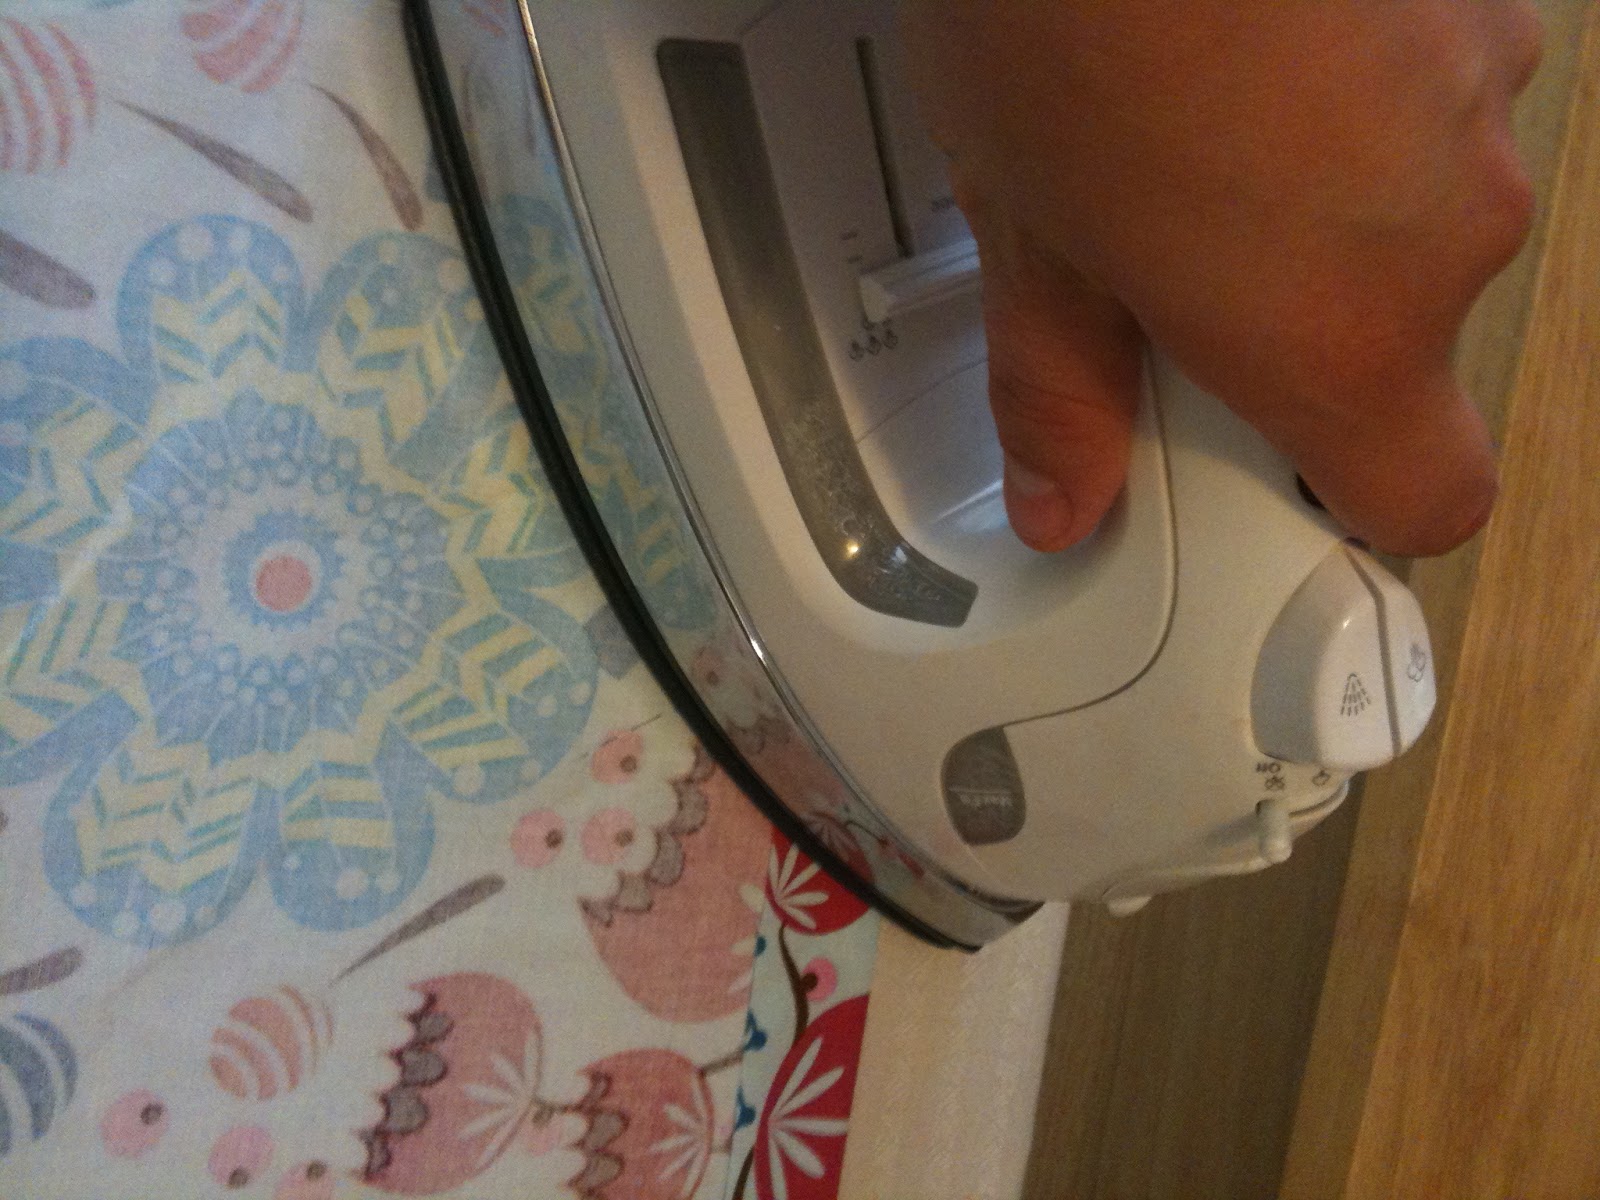
Step Three: iron on your hems
This makes sewing the back rectangles soooo much easier. Measure out an inch on one side of the rectangle, fold and hem. Make sure you are folding the front over on to the back.

Step Four: hem your rectangles
Head over to the sewing machine and sew each hem - the two you just ironed - with the fronts facing up. This will be the hem you'll see on the overlapping part of the back of the pillow. Once complete, cut the thread and bring the two rectangle pieces back over to the table with the large square.

Place the large square piece so that the front of the fabric is facing up. Then, place each of the rectangles on top so that the front of the fabric is facing down. There should be an overlap (about 5") in the middle of the back of the pillow. Pin and bring to your sewing machine.


Step Six: sew the two sides together
Set the first side up for sewing. Sew about an inch from the edge around all four of the pillow's outer edges. Don't sew the middle sections together. Cut the thread and remove from the sewing machine.

Step Seven: turn it inside out!
Turn the pillow inside out using the middle overlap. And there you have it!
If you're good at math and have an extra pillow form that's not 18"x18", feel free to adapt the pattern based on the size. Rule of thumb: always have a 5" overlap in the back to avoid pillow spewing out the opening.

No comments:
Post a Comment